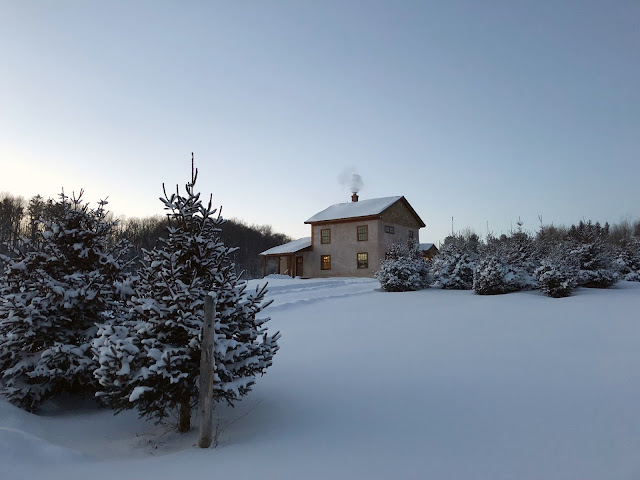
After our foundation was insulated and backfilled, it was time to start framing! First up were the sill plates, which hold the entire frame to the foundation. We wound up using pressure treated lumber for all the wood that's in contact with concrete because it protects the wood from rotting. Our intention was to use black locust, which is as rot-resistant as wood can possibly get without the harmful chemicals used in pressure treated, but unfortunately our sawyer couldn't get black locust in the width and lengths we needed. We were pretty bummed when we realized we'd have to use pressure treated, but you win some, you lose some.
Under the sill plates, we first installed sill seal, which will help keep air from sneaking in through the minute crack between the concrete and the sill. It comes in rolls and is basically just a long sheet of foam that you lay down flat against the concrete.
 |
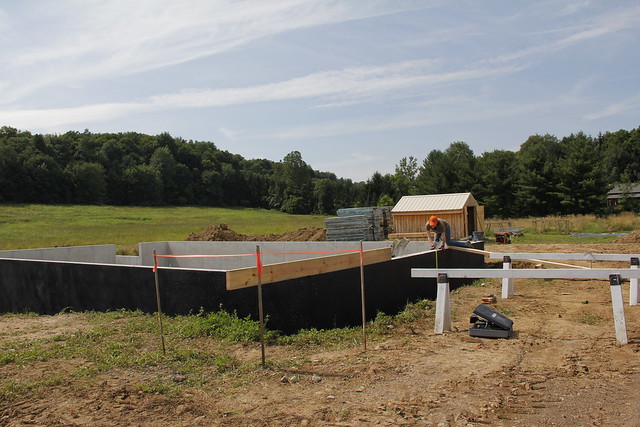
| All the sills in place |
We cut the sills to size and then drilled holes for where the anchor bolts attach to the sills to the concrete wall. We cut the holes a little larger than the bolt to make sure we could get everything lined up nice and plumb and straight. The plates were then set on the foundation and bolted down. It was pretty easy, all things considered, especially since the foundation was backfilled. We attempted to install the sills before it was backfilled, but that involved some precarious ramps and ladders and my debilitating fear of heights.
 |
Terrifying. There's an 8 foot drop and I'm kneeling on an 8-inch wall
with giant spear-like anchor bolts sticking up every few feet |
Before we could install the basement posts and floor joists, we needed to install the plates (or plinths) that they sit on. This was quite a bit trickier to get everything centered and in line. When you have basically no frame of reference because everything is measured from the outside of the wall, and the wall is not actually 8 inches thick because it's a nominal measurement, and you are measuring from the inside face of the wall on account of being
inside the basement, and the bottom of the wall is slightly curved, and the plates are larger than the posts and the footings . . . it's really hard! Have I told you yet that we're not professionals? That might have had something to do with it, too. We did manage to figure it out despite the stifling heat in the sauna-basement and a slight breakdown on account of frustration on my part.
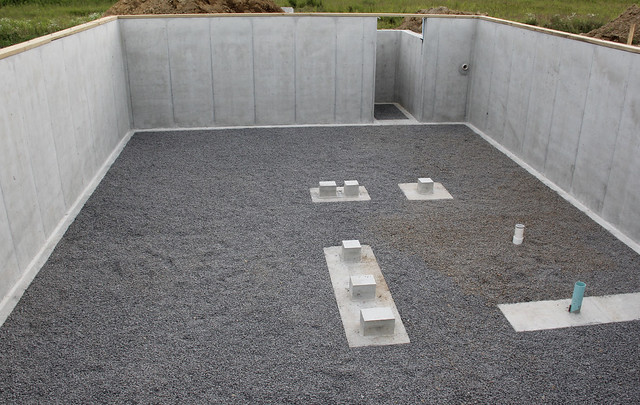 |
| The sauna and the post footers |
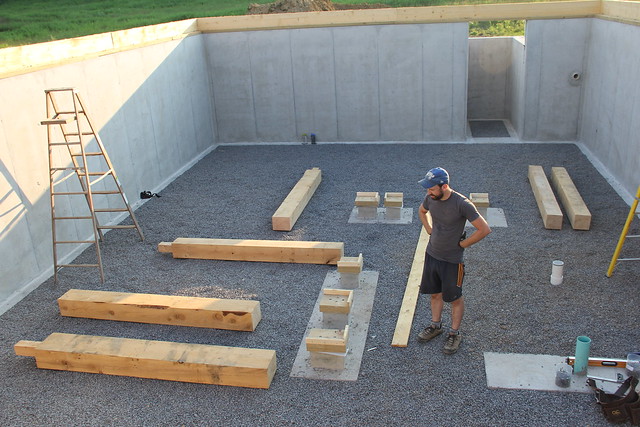 |
| Plinths in place and posts at the ready |
Squaring and cutting the posts came next and was the first bit of timber framing to be done, but I'll save that saga for another day.
Your blog is very valuable which you have shared here about miami frame shop I appreciate your efforts which you have put into this article and also it is a gainful article for us. Thank you for sharing this article here.
ReplyDeleteI am impressed with your work and skills visit also diploma framing in miami .
ReplyDeleteHello mate greaat blog post
ReplyDelete